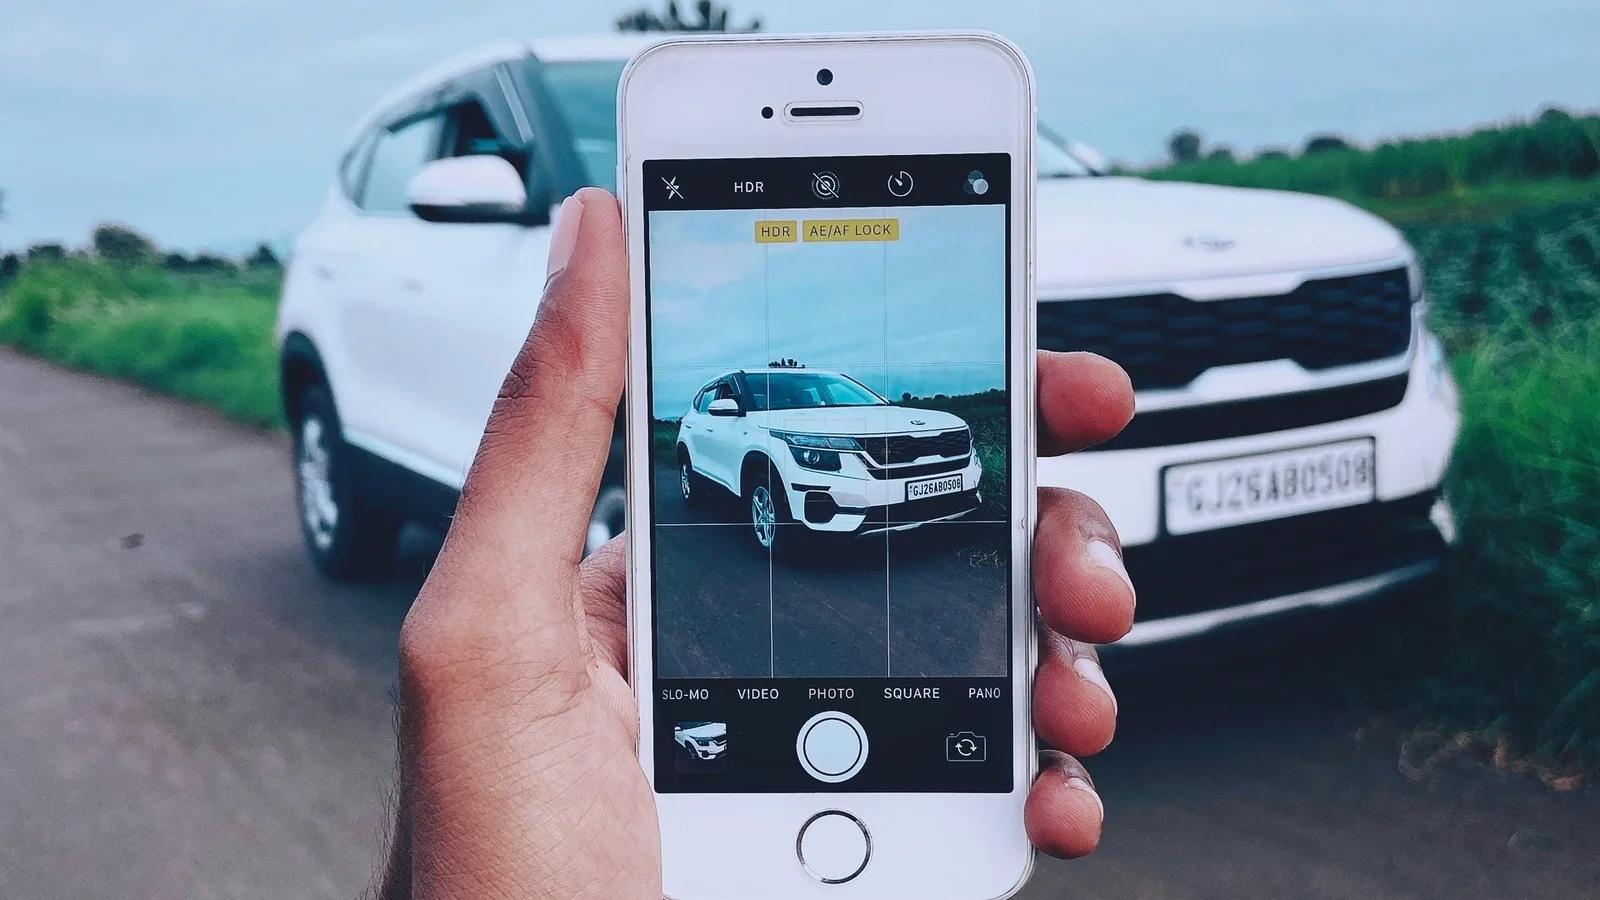
Buyers decide in the first second whether to open your listing, and the first photo makes that decision. Here are the shots that sell, and how the camera on the Sell page walks you through them.
Ten minutes of prep
Wash the outside and vacuum the inside. Take everything out: the phone mount, the floor-mat clutter, the air freshener, the stuff in the door pockets. Buyers read mess as neglect, and they're often right.
The thirteen shots, in the order the camera asks
On a phone, tap Take photos on the Sell page. The camera names the next shot ("Next: Front left corner"), tells you where to stand, draws an outline of the car to line up with, and labels each photo with the shot it asked for. It takes you once around the car clockwise, then inside:
0 of 13 ready
Phone settings that matter
Hold the phone level and turn it sideways for every shot of the outside; the camera reminds you. Upright is fine for the inside and the details. Tap the car to focus. Walk closer rather than zooming in, use the .5 button if you're short on room, and never use the flash. Wipe the lens; a smudge makes every shot look foggy.
Order and labels
The first photo is the cover. If the front corner shot isn't there, move it: press and hold a photo on a phone and drag it, or just drag it with a mouse. Follow with the back corner, the inside, then the rest. A sideways shot of the whole car makes the strongest cover; an upright one shows in search with blurred sides.
Photos from the camera are already labelled. Give the ones you added from your library a label too (Front, Interior, Odometer, Damage...) so buyers can jump straight to what they want to see.
Show damage rather than hide it. A clear photo of the scratch with a note in the description gets you a buyer who already accepted it; hiding it gets you a buyer who walks.
 Selling
 Buying
 Buying